How do I order in ROES?
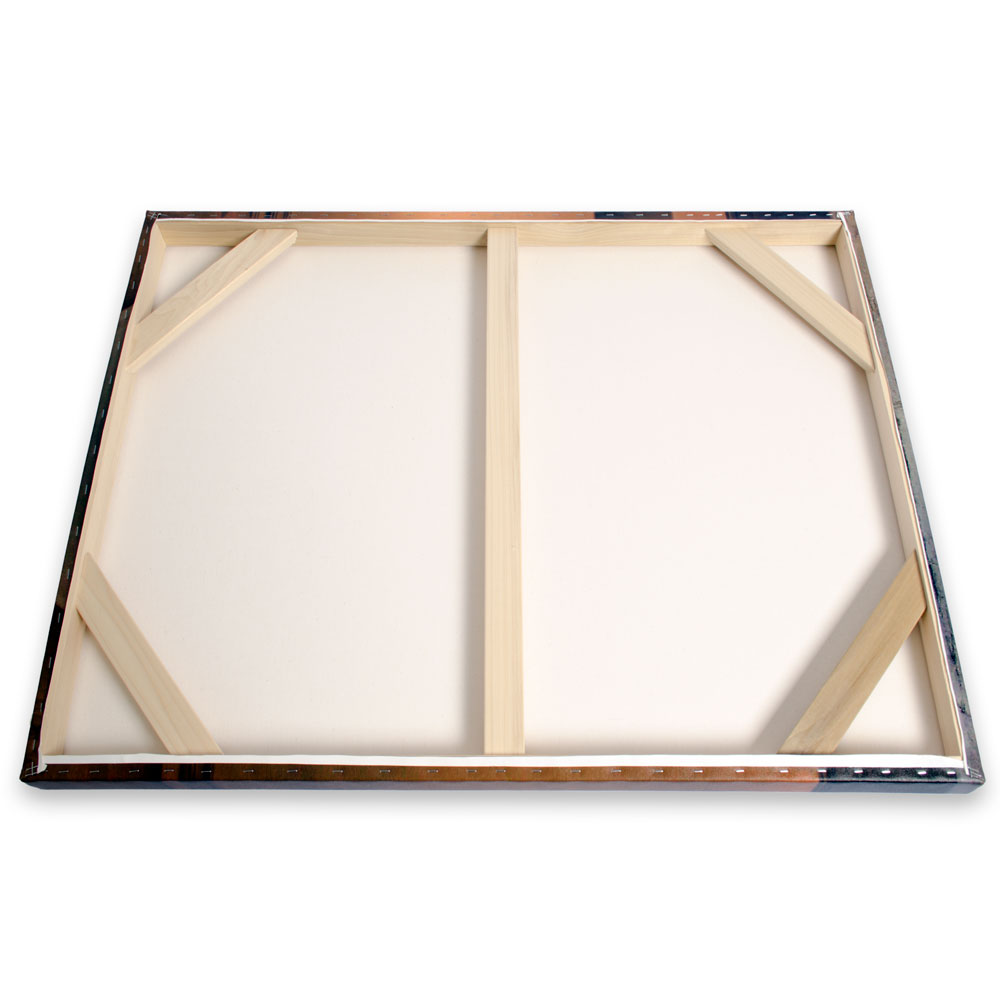
To order Canvas Gallery Wraps select “Canvases” in ROES.
What is the production turn-around time?
The production turn-around time for Canvas Gallery Wraps is 5 Business Days
How do I file prep for Canvas Gallery Wraps?
Please submit your files as a JPEG, TIFF or PNG at 300ppi, in sRGB, Adobe RGB (1998) or ProPhoto RGB color space.
The first step is to correctly setup your file for printing. Whatever your target size is for the front face of the canvas, you want to add an additional 4 inches for the height and the width. This will create a 2 inch border on each side for the wrap of the canvas. Second, pull your guide lines for your rulers in Photoshop 2 inches from each edge. This will create the template for your target size. Anything inside the guides will be on the front face of the canvas. Anything outside the lines will be the wrap of the canvas. Third, drag your image into the template and adjust the image to the cropping of your choice. Use the guides for placement of your image. For example, if you are ordering a 16×20, the file would need to be set up as a 20×24 at 300ppi.
What border wrap options do I have for my canvas gallery wrap?
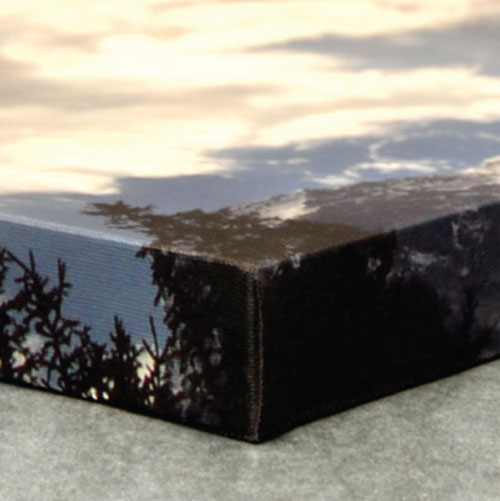
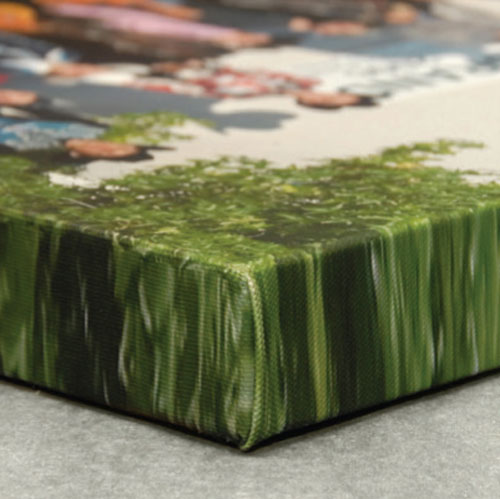
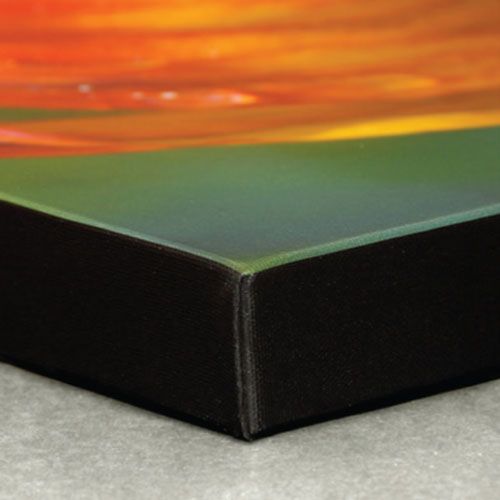
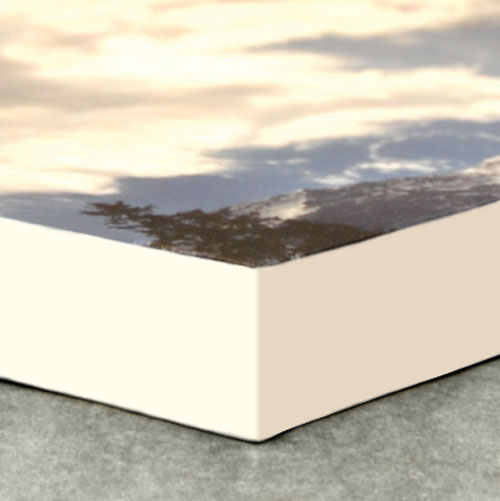
Simply Color Lab offers three canvas border options. You can choose a natural wrap, solid border (any color of your choice) or digitally stretched. See our video tutorials that explain how to setup up these options.
What is a natural wrap?
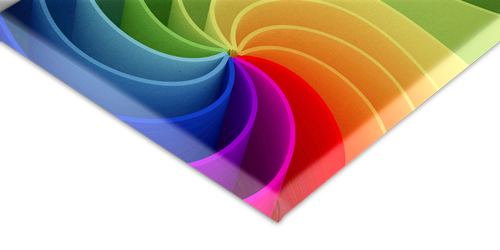
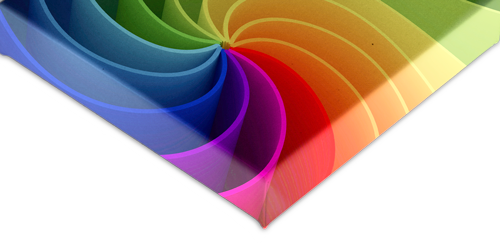
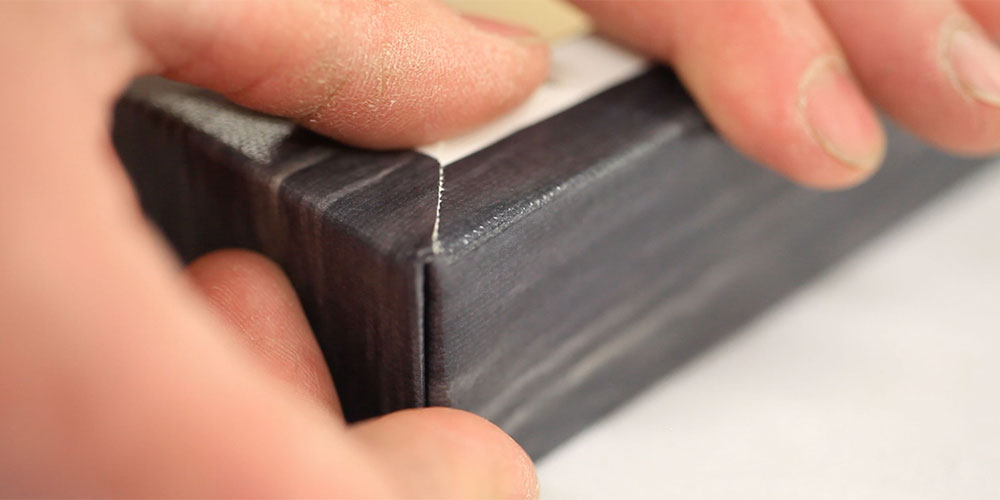
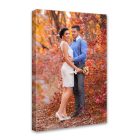
Natural wrap means that your entire image will continue to wrap around the sides of the canvas frame. No adjustments have to be made to your file to make it fit for the wrap. Loose shot images work best for a natural wrap. A tight composition results in the subject of the image wrapping around the edges of the border.
What is digital stretching?
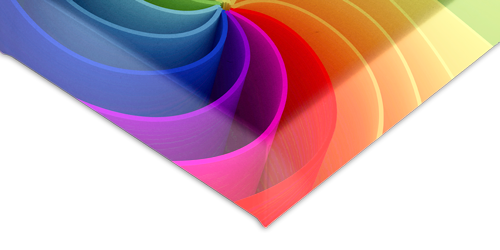
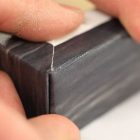
Digital stretching is a printing option for the sides of the canvas (wrap). It means that we take a slight piece of our image on each side and stretch it to make it fit the sides of the canvas. This will give you the effect of your image looking naturally wrapped around the frame. The more of the image we stretch, the more the image will look distorted. The less we have to stretch the image, the less it will look distorted. Keep in mind this applies to the sides of the canvas only, not the face of the canvas. You would choose this option if you do not want to lose your cropping for the front face of the canvas.
If I want to order my image with a border or digital stretch in the ROES software, how do I do that?
You will first want to select Canvases located in the Catalog menu of ROES. Click on the Border/Digital Stretch tab and choose your sizing template below. Drag and drop your image into the template. You will see the front face of your image and the blue shaded area where the image will be wrapped. Next, please choose a white, black, colored or digital stretch option for your border.
How do I size my photo on ROES to allow for the natural wrap?
If you’re ordering a .75” or 1.5” frame, add 2 inches to the height & width in Photoshop. That means 2 inches for the height (top & bottom of image) and 2 inches for the width (left & right sides of the image), giving you a total of 4 inches per dimension.
If you’re ordering a 2” frame, add 3 inches to each side.
Example: If you want a 20×24” canvas with a 1.5” frame, you’ll need to size the image to 24×28”.
Can you print word wraps?
Yes, we can. We are one of the only canvas companies to print word wraps. Our stretchers will make sure your word wraps and borders are aligned perfectly on the frame.
How do I set up my file for a word wrap?
First, determine your target front face size of your canvas and add 4 inches to the height and width in order to allow a 2inch border for the wrap of the canvas. Pull guides from your rulers in Photoshop at 2 inches from each edge to verify your template for your target size. Anything that lies inside the guides will be on the front face of the canvas and the border you created will be the wrap of the canvas. Next pull another set of guides a ½” further inside of each edge. You have 1″ to work with for the text. Make sure the text is between the two guides. Your text will be on the sides of the canvas and not wrapping around to the back edge.
